Almost every home, big or small, has a shortage of storage space. Just take a look at a usual garage full with garden tools, trash cans, home repair tools, sports equipment, extra car tires and boxes filled with all those things you have no other place to put.
Spring cleaning can give you some space and a sense of organization. It quickly it all goes to waste though, and clutter returns like it never went away.

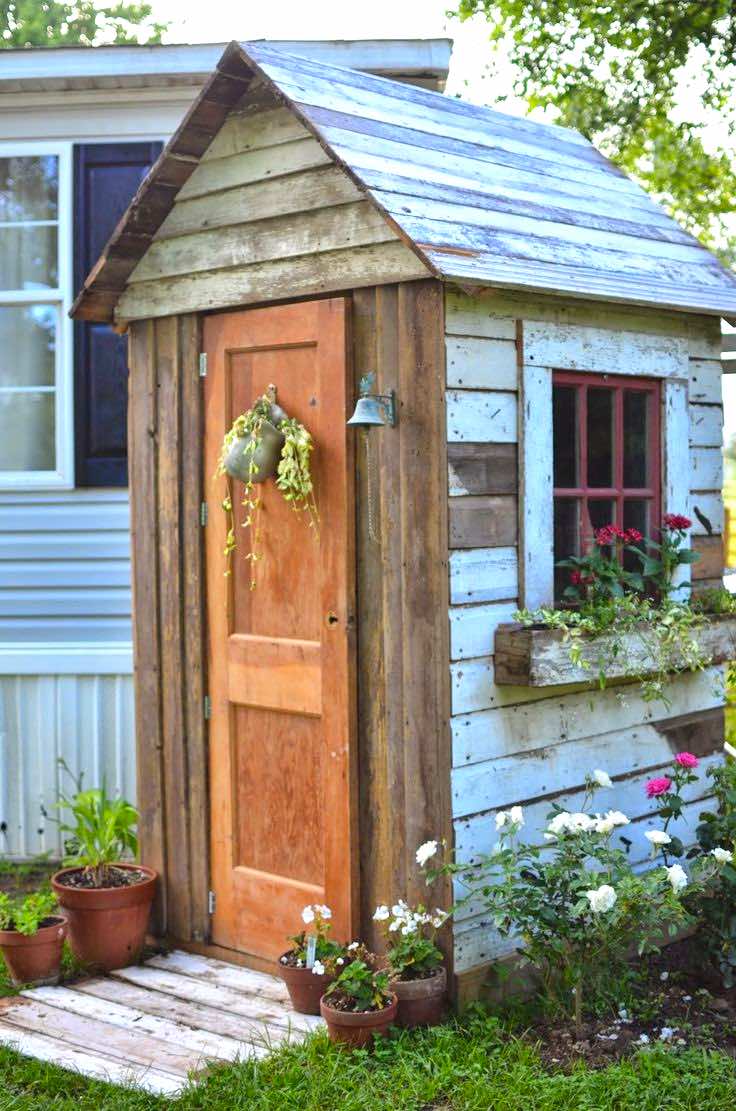
Storage Sheds
To get that extra space you need, you can build a gardening shed in your backyard. It may sound daunting to create storage sheds, occupying your entire summer holiday and beyond. Yet, trust me when I say it will not take too much out of your time nor money out of your wallet. You will be pleased with end results for sure.
When it comes to cost, it really depends on the country you are in, so the price can be anything from $500-$2000. Don’t forget to take your plan to your local building department to get a building permit.
https://www.googletagservices.com/tag/js/gpt.js
var googletag = googletag || {};
googletag.cmd = googletag.cmd || [];
googletag.cmd.push(function() {
googletag.defineSlot(‘/360613911/GenericDFP2017’, [728, 90], ‘div-gpt-ad-1506002846364-0’).addService(googletag.pubads());
googletag.pubads().enableSingleRequest();
googletag.enableServices();
});
Foundation
Once your design is ready and you know how you want your shed to look like and you made all the necessary measures, it is time for foundation.
Picking the spot of your shed is very important. It should be built on a levelled, well-drained ground. Even if your location is not perfectly flat, there are easy ways to make the necessary adjustments to level the ground.
To avoid the need for floor beams, you will need a deck block at each of the shed corners with two more blocks along the sides and one positioned in the centre. Make solid concrete blocks as the foundation for the shed and make sure they are levelled and straight.
In case you are planning to store heavier objects in the shed, make sure to make a stronger foundation. Next, choose the materials you want the rest of the shed to be made off.
Materials
Wood
Wooden garden storage sheds are the most popular ones because of the versatility and accessibility of the material. The durability and appearance of T-11 plywood make it the most desirable. With regular maintenance and care, it will have a long life.

The price of wood storage sheds is mostly less than the metal ones, making it more popular.
Metal
Metal storage sheds have an advantage in terms of security and longevity. They are low maintenance but almost all of them have the same problem of condensation. Usually, metal storage sheds are more airtight than their wooden rivals. This is not such a good thing as the hot air is trapped inside and the natural occurrence of condensation makes your belongings inside weather faster.
Depending on the purpose of the shed, the items inside and your budget these are the two most common choices.
Framing
There are 2 ways you can approach this task depending on how much time and skill you have.
The simpler and more traditional one is the stud wall approach:
- Make each wall independently.
- Put them together.
Even with this simple approach, make sure to measure twice and cut once.
The half lap joint approach is more time consuming but provides additional strength:
- Basically, with this, you are reducing two workpieces by half of their thickness on the spot where they touch.
- You can then combine them with wood glue.
- Use the clamp to secure the tight grip of the glue.
Roof
- Start making the roof by installing the end trusses first.
- Make sure that plywood siding is securely nailed before raising it.
- Install the rest of the trusses.
- To assemble the trusses you should make a template.
- Start by laying out truss parts one by one and aligning the bottom chord with the plywood floor edge.
- Cut 4 pieces in desired dimensions and lay 2 along each side of the floor and screw them tight.
- Next, you can use the short boards as stop blocks for assembling each truss that you can.
- Fasten with nailing and gluing plywood gussets on each side of those trusses.
- Cover your roof with sheets made of plastic or vinyl.
- Leave holes in the sheets for fasteners to reduce the risk of damaging the material.
Gardening Shed Siding
- Ensure your shed is protected and steady, and your walls have some extra support, by applying T1-11 siding to the outside of your gardening shed.
- If you can’t cover all 4 sides, add the siding on each corner and ends to get the most stability out of it.
- To keep it from weathering, paint the siding into a lighter colour since darker shades tend to absorb more heat during the summertime, making the shed a place that is hard to work in.
Finishing Touches
Once you’ve assembled the shed, it’s time for finishing touches. Adding a door, windows and paint is the logical next step. Inside, you can make an area to store your smaller repairing tools for example. You can also make space for storing gardening tools such as lawn mower, hose cart, chainsaws, rakes, wheelbarrow, pitchforks or anything else you don’t want to crowd your garage space.
Decorating around your gardening shed is a must. Bend it in with the surroundings to make it truly a part of nature.
Place some rocks to create a path leading up to the shed. Leave spaces to plant colourful flowers or any other plants you like that will provide a nice contrast to the rocks. The trick of mixing your soil with sand will let your flowers and plants breathe more as it provides extra drainage.
If you have any trees that need maintenance, get a reliable service to get it taken care of.
The Gist of it
Gardening storage sheds are very useful to have. They are by no means difficult to build contrary to popular belief. You can easily make it as a DIY project without having to spend a lot of money on professional workers. Ultimately it will make your gardening life easier and more organized.
P.S. If you enjoyed this post, sign up to my newsletter to get the latest advice, tips, and giveaways right into your inbox!
(function(d, s, id) {
window.Wishpond = window.Wishpond || {};
Wishpond.merchantId = ‘867182’;
Wishpond.writeKey = ’59f0e9b51410′;
var js, wpjs = d.getElementsByTagName(s)[0];
if (d.getElementById(id)) return;
js = d.createElement(s); js.id = id;
js.src = “//cdn.wishpond.net/connect.js”;
wpjs.parentNode.insertBefore(js, wpjs);
}(document, ‘script’, ‘wishpond-connect’));

Leave a comment